Connecting your Firestick to Wi-Fi is a simple process, whether you have your remote or not. Having a reliable Wi-Fi connection ensures you can stream your favorite content online, download apps, and access all the features Firestick has to offer. In this article, we’ll walk you through the steps to connect your Firestick or Fire TV to WiFi and enjoy uninterrupted streaming.
How to Connect Firestick to WiFi With Remote
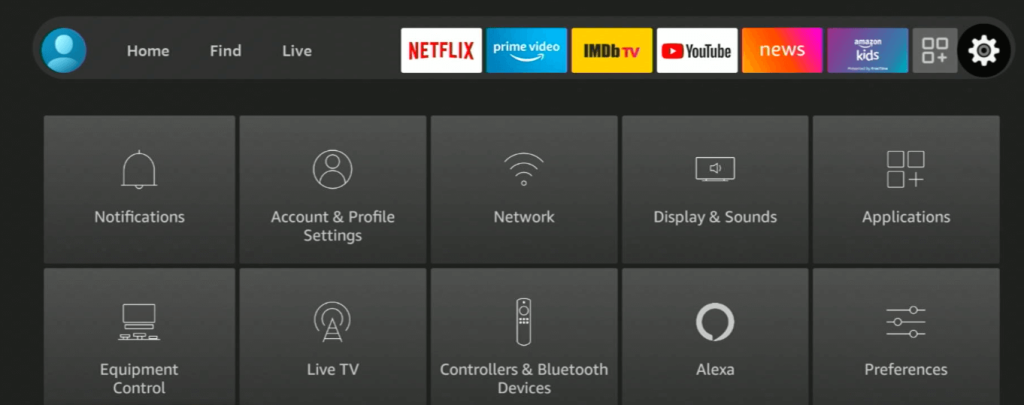
1. On the home screen of your Firestick, locate and select the Settings icon.
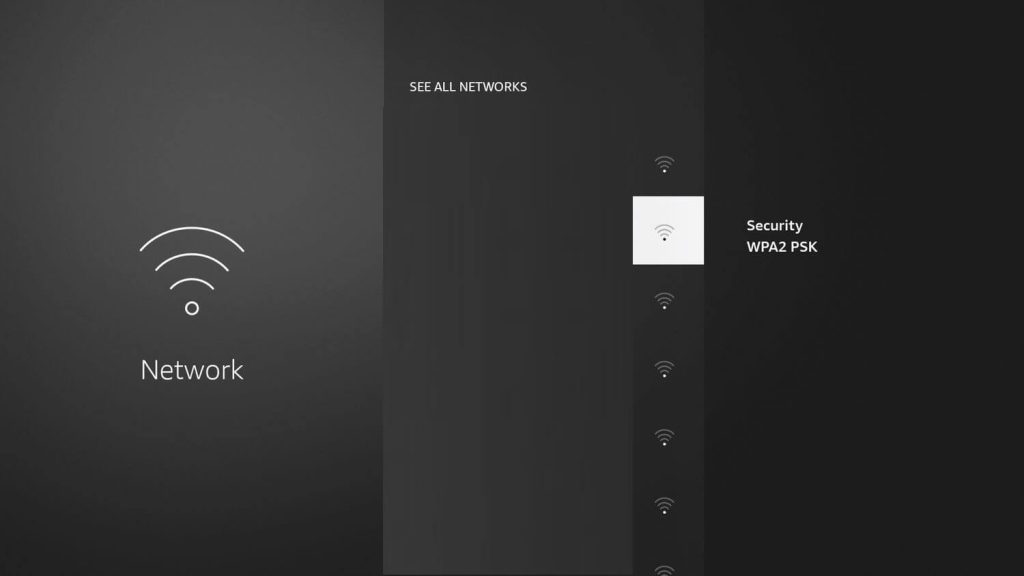
2. Tap Network to see the list of WiFi networks available nearby.

3. If you can see your WiFi network, hit See All Networks and choose your WiFi network name.
4. A menu will appear on the TV screen. Use the virtual keyboard to type the password of your WiFi network.

5. After entering the WiFi password, select the Continue button to complete the process.
Now, your Fire TV Stick device will be connected to the WiFi.
How to Connect Firestick to WiFi Without a Remote
If you’ve misplaced your Firestick remote or it’s not working, there are three ways to connect the device to WIFI without using a remote. They are discussed below.
Amazon Fire TV App:
By using the Amazon Fire TV remote app as a remote control to connect your Firestick to WiFi. Get the Amazon Fire TV app from the Play Store or App Store on the phone. Ensure your smartphone is connected to the same WiFi as your Firestick. Launch the Amazon Fire TV app and pick your Firestick device from the list.
Once the app is paired to your device, use the app as a remote to navigate to Settings and connect your Firestick to your desired WiFi network without using a remote.
Mobile HotSpot:
With the mobile hotspot on your smartphone, you can connect your Fire TV Stick to a WiFi network without a remote. To do this, you should first create a hotspot on your secondary smartphone with the same WiFi network name (SSID) and password as the previous WiFi network to which your Firestick was connected. Now, your Firestick will connect to the Mobile HotSpot automatically.
How to Connect Fire TV to the Internet using Ethernet Cable
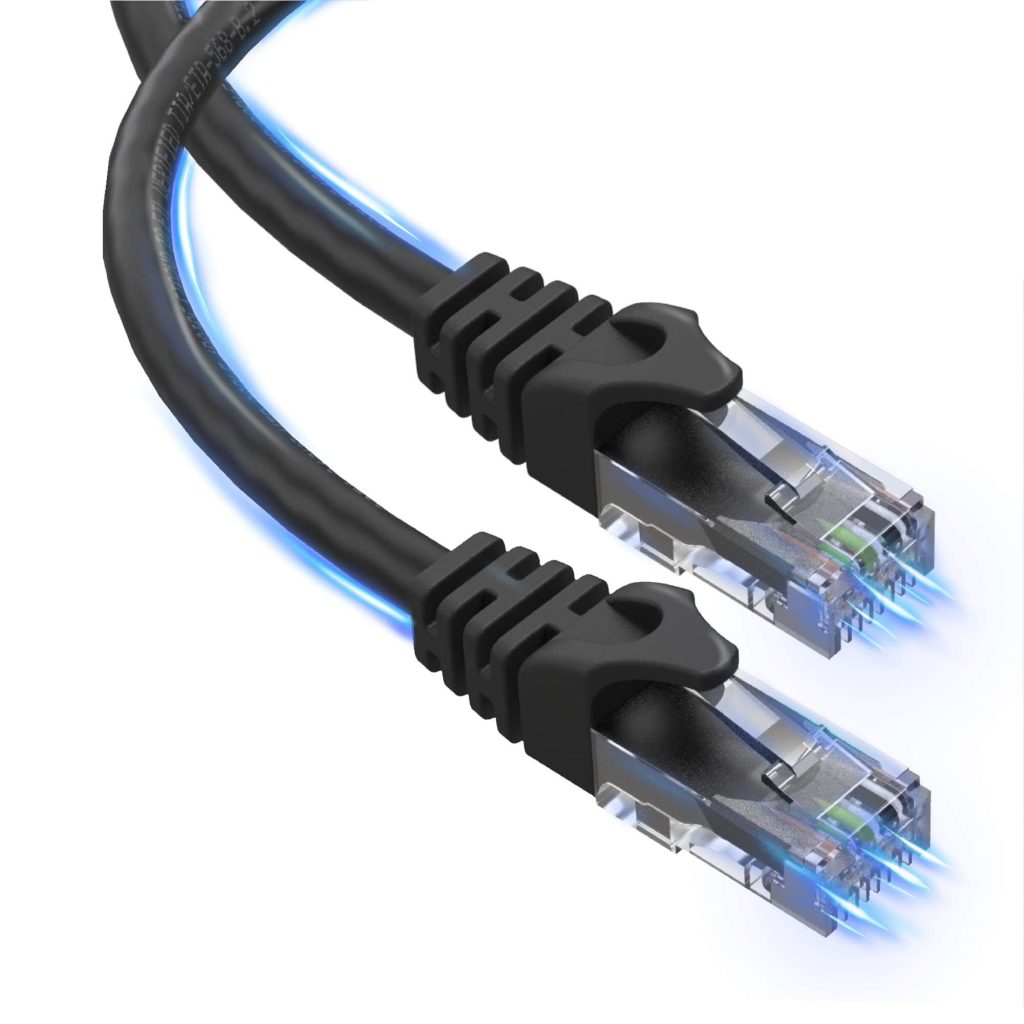
If you have an Ethernet cable, connect its one end to the router and the other end to the Fire TV. That’s it. You have successfully established the Internet connection on your Fire TV device.

Firestick Not Connecting to WiFi – Try this DIY Fixes!
If you’re experiencing issues connecting your Amazon Firestick/Fire TV to a WiFi network, follow the below troubleshooting steps.
- Check your Wi-Fi signal: Ensure your network provides a strong and stable connection.
- Place the router closer: Position your router near the Fire TV device for better connectivity.
- Restart both devices: Reboot your Fire TV Stick and Wi-Fi router to clear temporary bugs and reconnect the Firestick to the WiFi.
- Disable any VPN: Disconnect any active VPN and try connecting your Firestick again to the WiFi.
- Switch to 2.4GHz: Change your network settings to 2.4GHz for a more reliable connection.
- Try a wired connection: If Wi-Fi fails, use an Ethernet cable to establish the Internet connection on Fire TV.
- Factory reset: If all else fails, reset your Firestick to factory settings and try again. If needed, seek help from a nearby service center.
FAQ
If you have already connected your Firestick to the WiFi network in the past, the device will recognize the network again and connect to it automatically without requiring any password.
No. You cannot connect Firestick to WiFi with a Computer.
